 RemoveBackgroundMusic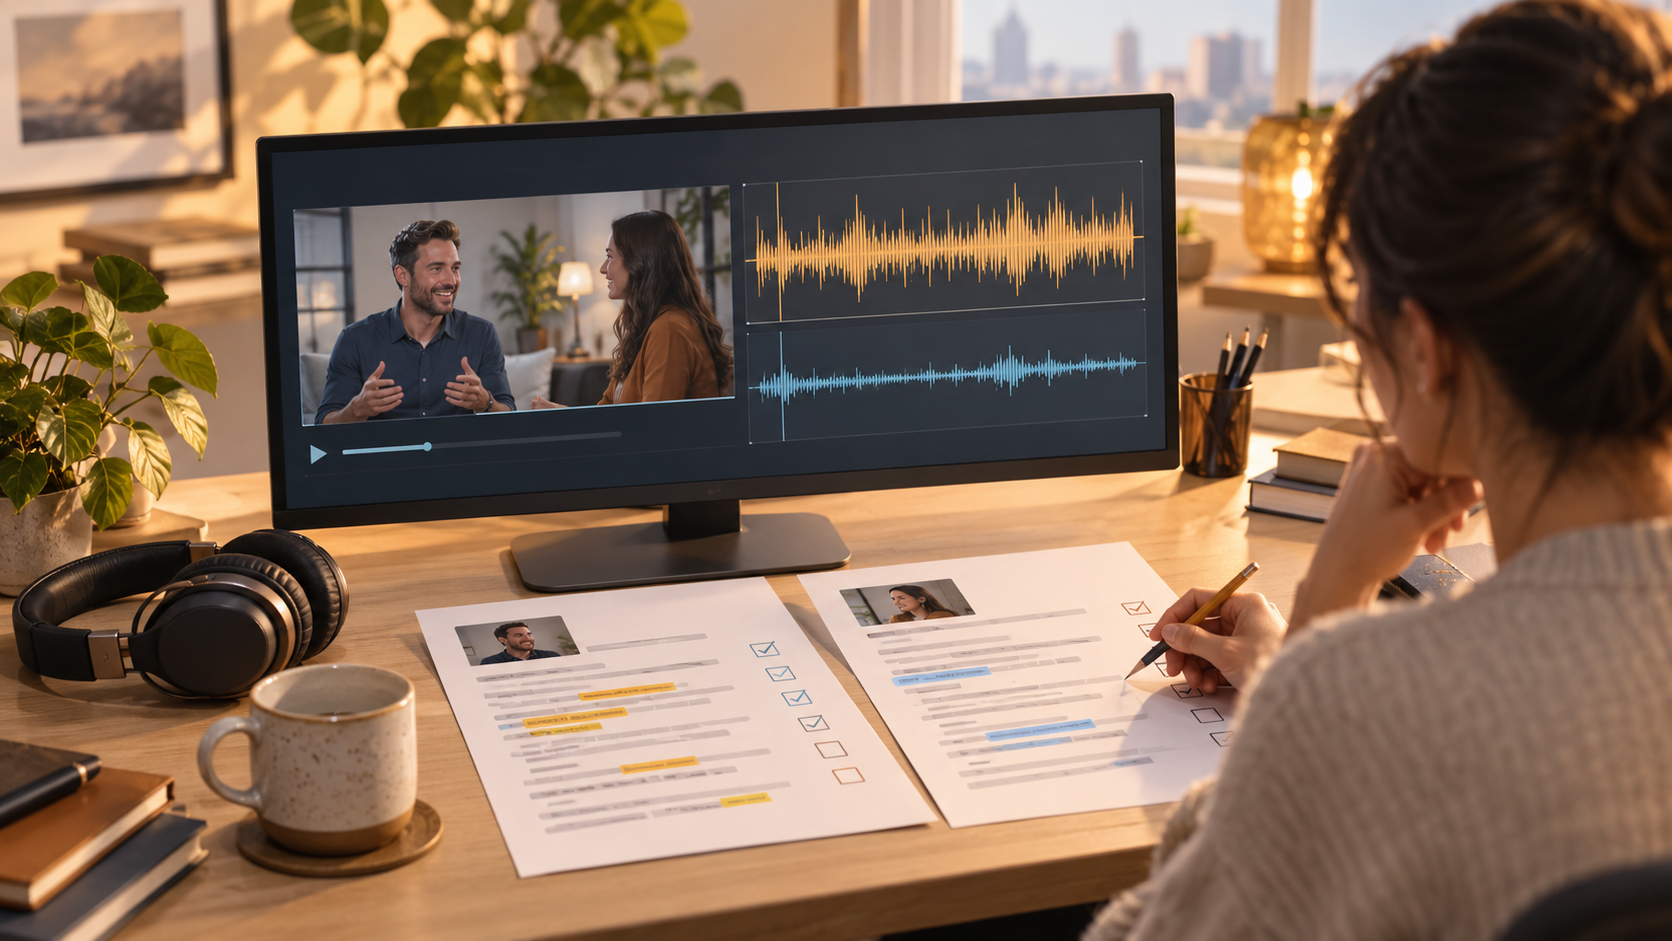
Remove background music before transcription only when a short, controlled comparison shows that the processed audio produces more accurate words. Start with the best authorized source and try the original recording first. If music masks speech or song lyrics enter the transcript, compare a music-reduced copy using the same transcription settings and a manually checked reference. Separation can help, but it can also damage consonants or introduce artifacts that make recognition worse. Keep the original soundtrack for checking meaning, timing, speakers, and relevant sound cues; a cleaner waveform does not prove a more accurate transcript.
Quick answer: test words, not silence
You do not need a silent background to create a useful transcript. You need the spoken words to be understood correctly. Some speech-recognition systems handle a moderate soundtrack without additional processing, while others struggle when music dominates the voice.
Choose the workflow by comparing results on your own material. If the original produces accurate text, preprocessing adds work and another opportunity to change speech. If music causes repeated mistakes, a carefully evaluated music-reduced copy can be worth trying.
| What you observe | Useful next step | What not to assume |
|---|---|---|
| Clear speech and accurate text | Keep the original input | All music must be removed first |
| Lyrics appear as spoken dialogue | Compare a music-reduced input | All singing will disappear |
| Quiet words are missing | Seek an isolated dialogue source, then test | More processing will restore them |
| Cleaned audio sounds pleasant but text worsens | Use the more accurate input | Better listening quality guarantees better recognition |
| Caption timing drifts | Check edits, duration, and offsets | Sound cleanup alone fixes timing |
The comparison may have different winners in different passages. Do not force one treatment onto an entire documentary, lesson, or interview when only a short region benefits.
Why there is no universal “clean first” rule
Primary research has studied the effect of soundtrack separation on downstream transcription. Tackling the Cocktail Fork Problem for Separation and Transcription of Real-World Soundtracks reports improvements in its evaluation while also identifying artifacts as a remaining obstacle. Its remixing experiments illustrate a tradeoff: the most isolated estimate is not automatically the best recognition input.
That is research context, not a benchmark for your file or this website. It does not establish that a particular upload, language, microphone, or recognition service will improve after separation. Avoid translating a study's measurements into a product accuracy claim.
There is also a useful counterpoint. Google's Speech-to-Text best practices warns that noise-reduction preprocessing can reduce recognition accuracy for its service. Different recognizers and input conditions can react differently to modified audio. Check the guidance for the tool you actually use, then compare instead of assuming.
The practical conclusion is narrow: use a small test to decide whether processing helps your transcription task. Neither “always separate” nor “never separate” is a dependable rule for every finished video.
Step 1: define the deliverable and protect the source
Decide whether you need a verbatim transcript, readable subtitles, searchable notes, or a translated script. Each has different review requirements. A meeting summary can omit many hesitations; a verbatim record should not silently rewrite them. A translated script needs accurate meaning before any language adaptation begins.
Keep the untouched original and record which copy you use for transcription. Work only with material you own or have permission to process. Removing music does not clear the rights to a soundtrack or video, grant permission to republish it, or guarantee that a platform will accept the result.
Look for the original editing project, dialogue stem, or microphone recording before estimating speech from a finished mix. If music can simply be muted on a separate track, that is a more controlled starting point than trying to subtract it from the final waveform.
Name working copies clearly: original, reduced-music test, and approved input. Keep an association between those copies and the final video version. That prevents a correct transcript of an older edit from becoming incorrect captions on a newer cut.
Step 2: establish an original-audio baseline
Transcribe a short representative excerpt from the original before processing anything. Use your intended language and recognition settings, and note them so the second trial can match. Do not change the model, language, input excerpt, and sound treatment together; you would not know which change caused the difference.
Choose a passage with actual difficulty: speech under a strong musical section, a quiet sentence, or a background song with lyrics. Include ordinary speech too, so you can see whether a treatment improves the hard moment while damaging the easier one.
Check the first transcript against the recording. Identify concrete errors: missing words, wrong names, substitutions, extra lyrics, and invented text during a pause. Do not rely only on a confidence label or how polished the paragraph looks.
If the transcript is already accurate, keep the baseline and move to caption review. There is no requirement to spend processing time because music is audible. The presence of a soundtrack is a reason to evaluate, not evidence that recognition has failed.
Step 3: build a small reference you can defend
For the test excerpt, write a reference transcript by listening carefully. Mark genuinely unclear words rather than guessing. Consult an authorized dialogue script or another original recording when available, but check that it matches the performance in this exact video.
Define simple rules before comparing. Will you count fillers, contractions, spoken numbers, punctuation, and capitalization? Consistency matters more than making the trial look scientific. A casual comparison can be useful without being presented as a formal benchmark.
Create three columns in your review notes: what was spoken, what the baseline produced, and what the processed input produced. Record missing, substituted, and extra words. Pay particular attention to names, dates, quantities, and negation: changing “did not” to “did” can matter more than several punctuation differences.
Do not invent a reference for inaudible speech. If you cannot verify a word from legitimate evidence, mark the uncertainty. A recognizer producing a plausible sentence is not proof that the masked phrase has been recovered.
Step 4: preview music reduction on the difficult passage
Use an authorized copy and compare the same time span. For a method of choosing the stress-test region, see how to select a music-removal preview. That guide covers listening quality; here the final acceptance test is the accuracy of the recognized words.
RemoveBackgroundMusic currently offers Remove and Reduce modes for supported audio and video files, with a short preview. The aim is to lower music while retaining useful residual sound. This is not identical to a conventional singing-vocals-and-instrumental split, and it is not a guarantee that every word or effect will survive.
Start from the least destructive useful result. Listen for weak consonants, changing syllables, and musical fragments that resemble speech. A small amount of remaining music may be preferable to a voice with missing detail. The music-removal artifacts guide explains those listening tradeoffs in more depth.
The website does not generate transcripts, identify speakers, or export subtitle files as part of this workflow. You would evaluate a supported processed output separately in your chosen transcription tool. For MP4 inputs, the current workflow sends extracted audio for processing; do not describe it as wholly local processing or make an absolute privacy promise.
Step 5: run the matched transcription comparison
Send the original and processed test excerpts through the same chosen recognition setup. Preserve duration and alignment where possible. If you trim a passage for testing, note its starting time in the full video so you do not mistake a test offset for subtitle drift.
Compare both outputs with the reference, not with each other alone. Agreement can still be wrong. Conversely, a changed word in the processed version can be an improvement or a new mistake; only the source and reference resolve that question.
Look for useful tradeoffs. If the processed copy corrects a name but drops quiet sentence endings, the result may need local use rather than full-file replacement. If both copies omit the same masked phrase, seek a better source or a human review instead of running repeated aggressive passes.
Keep the recognition input with fewer meaningful errors. Record the decision and remaining uncertain words. Do not report a percentage improvement unless you actually used a defined calculation on a verified reference, and never generalize a small private test into a site-wide accuracy claim.
Step 6: verify the full transcript in context
A successful short test does not validate the rest of a long recording. Other speakers, changing music, edits, and microphone distance can create new problems later. Check additional difficult sections and review the final transcript against the full source.
If you use different treatments for different passages, keep their timing and source mapping explicit. Do not delete pauses or rearrange audio without accounting for those changes in the caption timeline. Sound cleanup and editorial trimming are different operations.
Verify speaker labels manually. Music removal does not establish who spoke a line, and a recognizer can confuse a sung phrase, distant speaker, or overlapping conversation with the foreground voice. Avoid attaching a disputed quotation to a person on the basis of automated text alone.
Also review meaning. Missing a small connecting word, qualification, or negation can alter a sentence even when most words are correct. A fluent-looking transcript can conceal those errors, so listen rather than proofreading only the text.
Step 7: make captions match the delivered video
A speech transcript is not a complete caption review. Captions must be synchronized to the video that the audience will actually receive. If music remains in that video, do not treat the processed transcription input as the sole record of the soundtrack.
The W3C guidance on captions and subtitles addresses speech and relevant non-speech audio information. Use the original or final delivered mix to review meaningful sound cues and speaker context; a separated voice copy can omit information that captions should convey.
Preview captions with the actual picture and final audio. Confirm that entries start and end appropriately, follow edits, and do not cover essential visual content. Correct extra lyrics or spurious words, but do not remove genuine sung content merely because it is inconvenient to classify.
If you changed the final soundtrack as well as the recognition input, perform another review against that final version. The audience-facing captions must describe the delivered experience, not a processing intermediate that only the editor heard.
Where this workflow reaches its limits
Finished mixes contain sources that overlap in time and frequency. Separation estimates them; it does not reconstruct the exact original stems. Very loud music, dense sound effects, severe reverberation, clipping, and a low-quality source can leave too little speech detail for dependable recognition.
Background singing is particularly awkward because lyrics are human vocal sound too. A voice-focused separator may retain them, and music-focused processing may alter the dialogue beside them. Do not claim a tool can always distinguish the singer from the speaker or recover words that neither you nor the source evidence can establish.
Overlapping speakers add a separate problem. Music reduction is not guaranteed speaker separation. If the task needs exact quotations, high-consequence decisions, or an accurate archival record, retain the original and involve appropriate human review. A processed copy should not replace the evidentiary source.
For the different output goals, see music removal versus voice isolation. Do not assume a speech-only result preserves ambience and effects, or that a scene-preserving result is automatically the best recognition input.
Frequently asked questions
Will removing music always improve automatic subtitles?
No. Separation may expose speech or damage information the recognizer needs. Compare the same excerpt with the same recognition settings and a checked reference before choosing the input.
Why does the transcript include song lyrics?
The recording may contain real sung words that the recognizer treats as speech. A vocal stem can retain both singing and dialogue. Review the source, test an appropriate music-reduced input, and classify the remaining lyrics manually.
Should I convert an MP3 to WAV before transcription?
Follow the chosen transcription tool's supported-input guidance. Converting a compressed file does not restore lost detail. Prefer a better original when available and avoid unnecessary repeated encoding.
Can RemoveBackgroundMusic create an SRT file?
This workflow does not claim that feature. Use the site to preview music removal or reduction on a supported file, then use a separate transcription and caption-editing tool for text and timing.
Should captions describe sounds removed from the recognition copy?
Review captions against the video you deliver. If meaningful non-speech sounds remain there, the speech-only working copy should not erase them from your caption review.
Bottom line
Use music removal as an optional recognition-input experiment, not a mandatory first step or an accuracy guarantee. Preserve the original, compare actual word errors, and review captions against the final video. If music is masking dialogue in a file you can lawfully process, preview music removal while keeping voice and decide from your own result before committing to the full workflow.